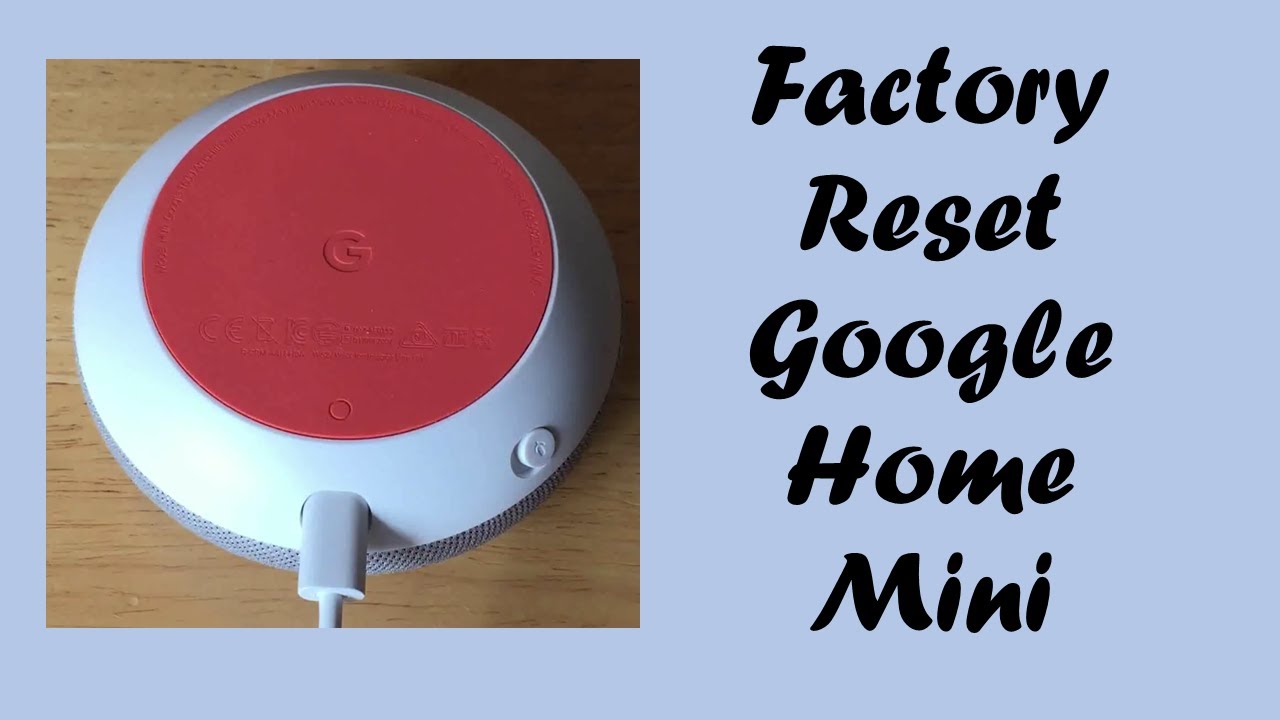
No neat smell from this air freshener unit , but we do find a "standby" button for Home's microphones, along with a status LED. Choose a size and copy the code below to embed this guide as a small widget on your site / forum. The Google Home Mini opens from the bottom There is an orange plastic disc with a piece of orange rubber attached to it. When autocomplete results are available use up and down arrows to review and enter to select. Touch device users, explore by touch or with swipe gestures.
Main PCB, and underneath the donut’s frosting, showing LED light pipes, capacitive sensor plates, and some mic holesThe arguably most important feature is provided by two humble microphones, placed on opposite ends of the PCB. This allows noise cancellation and beam-forming i.e. figuring out the location of the sound, similiar to how two ears on opposite sides of one’s head does. Using metal would primarily be for thermal relief, i.e. dissipating the heat generated by a powerful processor . The metal looks like it was molded, and then sections of it overmolded with plastic, achieving a tight fit and perfect tolerances. If you take a look at the two large black areas, you’ll see they correspond to where the Bluetooth and Wifi antenna’s on the PCB are. Not having metal in this area is critical for good RF performance.
The PCB and electronics
There is some seriously serious adhesive holding this board to the upper case. After turning the device over, you can gently lift the fabric-covered top. This guide will show you how to open the Google Home Mini and disassemble the individual components.
I cannot tell if it directly disconnects the microphone. While keeping the device close to the device as in the picture, first disconnect the ribbon cable from the connector with a spudger. One minor but interesting bit about the teardown was that there was what iFixit called a “mystery cable” with four contact points inside the part of the speaker that hold the magnets for its bottom case. The team came up with its own funny theories about this discovery, but what do you think this cable was made for? IFixit has posted its teardown of the Google Home speaker, revealing it to be easy to repair along with a mystery cable inside. Below you can see a line-up of their most significant internals.
Google home mini does not respond
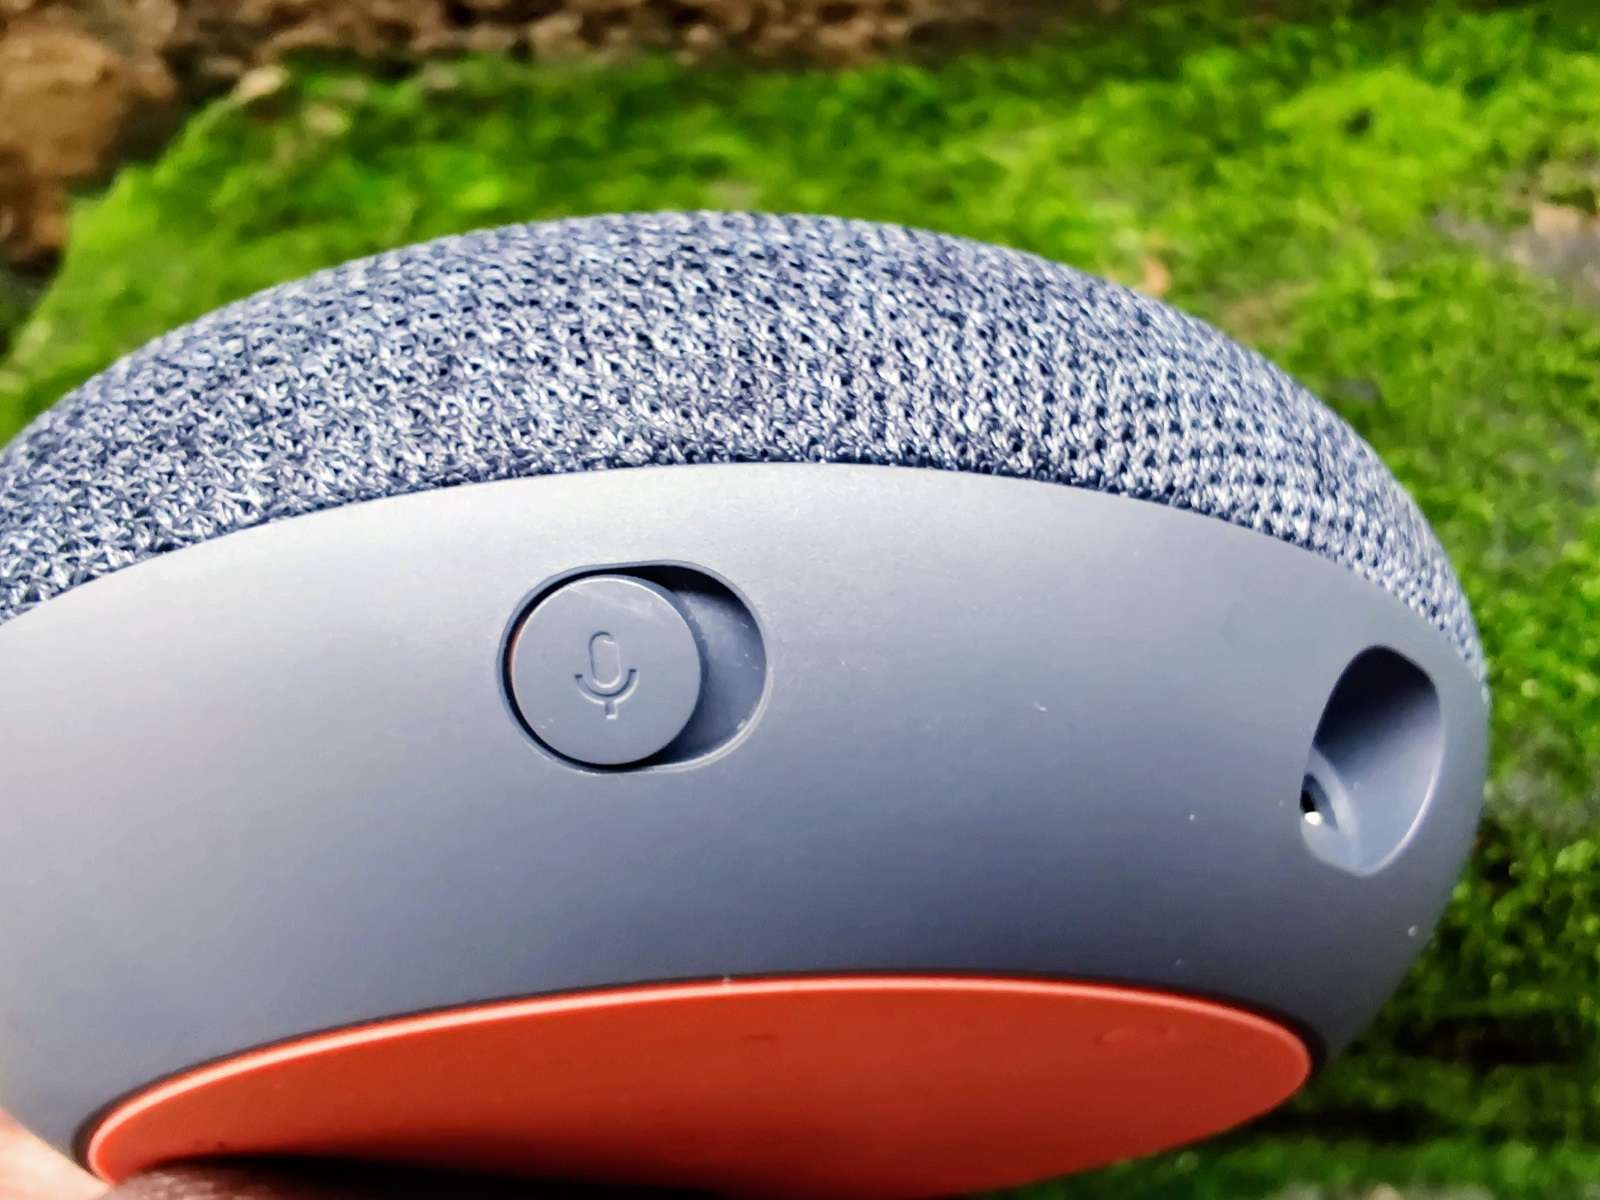
The plastic is also used to electrically isolate two stainless steel “touch sensors” from the metal frame. These are used for sensing side-taps for volume control. Removing the hopefully final set of 4 torx screws, we set free the interesting metal/plastic part, and finally reveal the main PCB. Three more T6s secure a board bringing power input and a microphone switch down the ribbon cable.
Using a pair of tweezers, unlatch the Zero Insertion Force fastener that connects the ribbon cable to the board. Be careful as a black ribbon cable connects the two halves together. Only standard screws and connectors are used throughout the device.
Technology
This smart speaker differs from its more diminutive sibling predominantly in its transducer allotment. TheGoogle Terms of Serviceand supplementalNest Terms of Serviceapply to use of the Google Home app and devices set up via the app. When available, your speaker or display will automatically update to the latest software version. The smaller version of Google Home voice-activated speaker, equipped with Google Assistant.
It was announced on October 4, 2017 and released globally on October 19, 2017. Some guesses say it could have been moisture, or something to do with the adhesive on the sheet-metal. Or related to the heat-generating Dual-Core ARM Cortex A7 directly beneath the contact. Marvell Avastar 88W8887 WLAN/BT/NFC SoC — The main difference with this SoC is that instead of a 2x2 wifi radio , it only has a “1x1”. This is most likely a cost reduction, also requiring less thermal dissipation and hence a smaller, cheaper design, for a product that may not need the extra bandwidth and antenna strength. Marvell 88DE3006-BTK2 — This is the multimedia processor SoC, an ARMADA 1500 Mini Plus with a Dual-Core ARM Cortex A7, supporting 1080p HD content.
And as with most MEMS microphones used today, the port is on the bottom, requiring a hole through the PCB, as can be seen below. Removing the black enclosure, we can see it is indeed an impressively sized custom speaker enclosure, and we get a hint at the solution to providing omnidirectional sound from the metal shape below. Donut try this at home 🍩About 5 minutes later, the base had softened and could be peeled right off, revealing the once stubborn double-sided adhesive that was similarily used in the original Google Home to attach the touchscreen. Google just announced some new products — one of which was the Google Home Mini, a smaller, cheaper version of their voice assistant, which just started shipping.
To get to the brains of the PCB, we’ll need to remove the metal shielding in 3 places. These typically consist of a “fence” that is soldered onto the board, and covers that can pop-off easily thanks to the little bumps along their perimeter. These little shields are very cheaply made from stamped sheet metal.
Grab the front of the speaker in one hand and the back cover in the other, and rotate the back clockwise slightly. The rubber insert comes out, revealing a sneaky T6 Torx screw. Insert an appropriate tool underneath this flexible rubber white insert. Many components are modular and can be replaced individually. But, from our multimetering, and reading of that final "-04", it looks to be a 4 ohm version.
Below you can see the capacitive touch sensor consisted of stamped sheet metal adhered onto the inside of the plastic shell, surrounding the LED light pipes. A small, gold tipped spring contact was used to connect to the PCB. The purpose of the black-and-red two-wire twisted pair is likely already obvious to you; it heads inside the chassis and (I’m quite confident, though I haven’t yet confirmed at this point in the teardown) connects to the speaker on the other end. The flex PCB cable headed toward the bottom, on the other hand, stay tuned. Peeling back some adhesive foam, you can see a flex cable soldered directly to the board — marginally cheaper but significantly tougher than the ZIF connector used on the other end of the cable.
We turn up the heat on this teardown and bust out some enhanced interrogation tools—an iOpener and dental pick to be exact. This cable runs from motherboard up to a board tucked in the top of the lid, probably home to a fancy microphone and LED array. Its an arm that goes between the mute button and its switch on the board, to give it just the right amount of springy resistance. The board is glued to 2 locations lightly, but can still be removed easily. If there is still glue over the screw heads you can easily pierce with the screwdriver. Do not remove glue, as the bottom will not hold otherwise later.
And so I believe we need more people understanding and building this type of technology, to make the chances higher that the future we build will be one that we all want. In summary, the Google Home Mini is a beautifully designed product. And the internals show some serious thought went into making this compact, affordable as well as being easy to re-assemble, which I appreciate.
The rest of the stainless-steel part is sprung against the metal frame with foam adhesive, ensuring a tight press against the fabric shell, while still preventing electrical contact with the metal part. The fabric shell has corresponding insulating and padded Kapton tape, to ensure a snug fit, and probably to prevent direct moisture or contaminants from glitching out the capacitive sensing. Having experienced these type of edge cases in manufacturing, I’m sure there’s an explanation that became apparent in the field. It was probably painful to the design team to lose that feature, but lucky it could have been easily killed with a firmware update instead of requiring a recall or resulting in a PR nightmare.
Or it could be a source of the problem, with the adhesive altering conductivity at different temperatures, or causing stray connections to the nearby ground shield. It seemed obvious there were some screws hiding beneath this, but seeming really difficult to pry off, I attempted to find some snaps holding together the fabric shell and plastic base, that I could pry apart instead. The box that arrived on my doorstep looked suprisingly willing to be stolen, with Google as the ship-from address. The packaging is obviously intended for retail, given the hang tab, is well designed and cost effective, with a neat perforated tear-tab, and white pulp trays cradling the product.


No comments:
Post a Comment